Lightening Your Backpack for the Tour du Mont Blanc: How to Stay Under 8-10 kg
How do you lighten your backpack for the TMB without sacrificing comfort? A category-by-category sorting method, common traps, and a realistic target weight for 170 km and 10,000 m of elevation gain.
Over 170 km and roughly 10,000 m of cumulative elevation gain, every extra kilogram in your pack gets paid for several times over: in your knees on the descents, in your lungs on the climbs, and in the overall fatigue that builds up day after day. Yet most hikers preparing for their first TMB set off with a pack that's too heavy — out of excessive caution rather than real necessity.
The good news: lightening your pack doesn't mean giving up comfort or safety. It's a method, almost a discipline, that means questioning every item instead of cutting at random. Here's how to aim for an 8 to 10 kg pack (excluding the day's water and food) without losing anything essential.
Why pack weight changes everything over 7 to 11 days
On a day hike, a few extra kilos are barely noticeable. On a multi-day trek like the TMB, the equation is completely different.
- Fatigue is cumulative: a pack that's too heavy on day one is still too heavy on day ten, and the gap widens mechanically as your body absorbs the fatigue of previous stages.
- Joints take the first hit: knees and ankles absorb the extra load with every step, over thousands of repeated steps day after day — often the main reason hikers give up mid-tour, well before running out of breath.
- Walking pace is directly affected: a lighter pack lets you hold a steadier rhythm through the day, with fewer forced breaks, leaving more margin if something unexpected comes up (weather, fatigue, delays).
- Weight feels different at altitude: on the tour's most demanding passes, every kilo counts double against the cardiovascular effort already required by the altitude.
The category-by-category sorting method
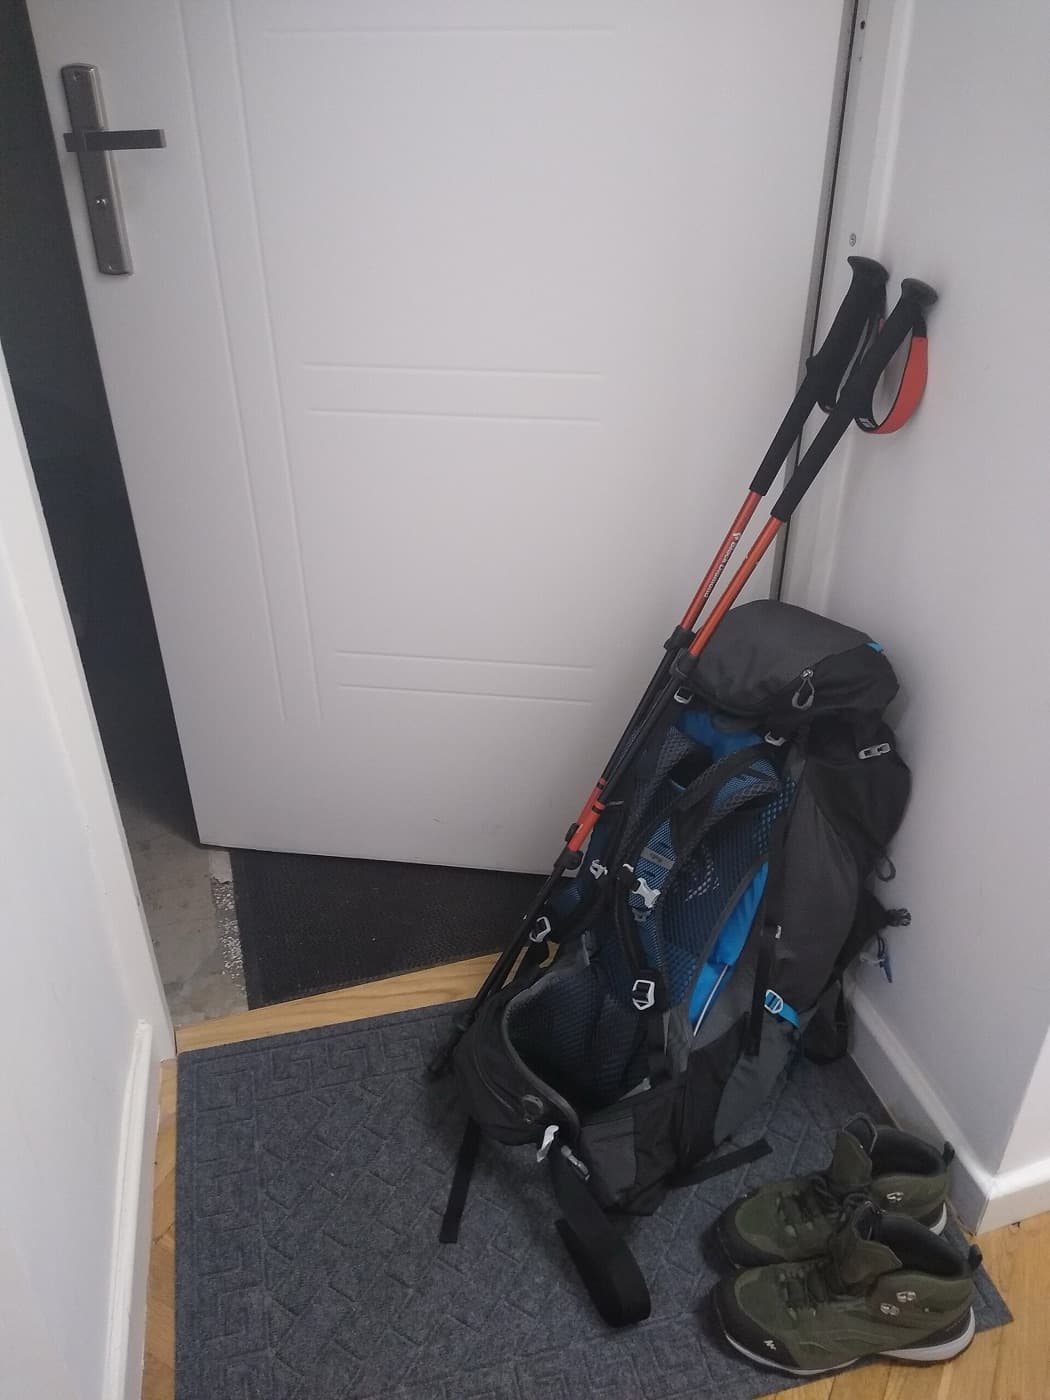
Rather than trying to shave weight everywhere at random, the most effective method is to assess each category of gear separately, with a realistic target weight for each one.
- Sleeping gear: a sleeping bag liner or silk sheet rather than a full sleeping bag if you're mostly staying in refuges (blankets are provided there) — an instant saving of 800 g to 1 kg compared with a standard hiking sleeping bag.
- Clothing: one walking outfit worn daily, one light change of clothes for the evening, one warm layer and one waterproof layer. No need to pack multiple t-shirts "just in case": they dry overnight and are easy to wash at a refuge.
- Toiletries: travel-size everything (solid soap, mini toothpaste), a single quick-drying microfibre towel rather than a regular bath towel.
- Electronics: a single power bank sized for the length of the tour rather than a pile of redundant chargers and accessories, and one multi-connector cable for all your devices.
- Food: only carry enough to reach the next possible resupply point (refuge, village, shop), rather than several days of margin out of excessive caution.
- First-aid kit: a compact, targeted kit (plasters, antiseptic, blister treatment, a few basic medicines) is more than enough — no need for a full pharmacy on a trek where every refuge can help out in a real emergency.
Common traps that make your pack heavier than it needs to be
Some mistakes come up again and again among hikers who end up overloaded, often without even noticing while packing.
- The "just in case" syndrome: a second pair of shoes, an extra warm layer never worn, a comfort item added "to be safe" — each one weighs little on its own, but together they add several kilos to the total.
- Unnoticed duplicates: several items serving the same purpose (two torches, two knives, several water containers) slipped into the pack during preparation, without ever checking for overlap.
- The full printed TMB guidebook kept alongside the mobile app and the map — pick one rather than carrying both, unless you have a specific reason to need it.
- Everyday comfort items carried over unchanged from city life (a pocket mirror, a full cosmetics kit, "normal" spare clothes) that have no place on a multi-day trek.
- Technical gear you'll never use: crampons or an ice axe carried out of excessive caution on a route that doesn't need them in normal summer conditions — save them for when weather or late snow genuinely justifies it.
A realistic target: what weight to aim for based on your trip
There's no universal weight that works for every hiker: your target weight depends directly on your choice of accommodation and the type of trek.
- Refuges only, no camping: aiming for 8 to 10 kg excluding the day's water and food is a perfectly realistic target, since you don't need sleeping or cooking gear.
- Bivouacking or camping, with a tent and full sleeping gear added: expect more like 12 to 15 kg, as self-sufficient sleeping equipment alone adds several unavoidable kilos.
- As a couple or group, share communal gear (tent, stove, first-aid kit) instead of duplicating it in every pack — one of the simplest and most effective ways to cut weight.
- With specific constraints (a dog, medical equipment, a young child), the target weight adjusts accordingly, but the category-by-category method stays the same: question every item instead of accepting a high weight by default.
Calculateur de poids de sac
Cochez, ajustez les poids, ajoutez vos objets — tout se calcule en direct
⛺Abri & Couchage
- g
- g
- g
- g
👕Vêtements
- g
- g
- g
- g
- g
🍳Cuisine & Eau
- g
- g
- g
- g
🏥Hygiène & Sécurité
- g
- g
- g
- g
📱Électronique & Divers
- g
- g
- g
3.4 kg— Sac Ultra-Léger
Parfait pour le TMB !
Vos ajustements sont sauvegardés automatiquement sur cet appareil.
Conclusion: travel light, starting from the Les Houches car park
Lightening your pack isn't about giving up comfort — it's about making informed choices category by category, cutting duplicates and the reflexes of excessive caution that add real weight without real use on the trail. A well-thought-out pack is felt from the first few kilometres, and even more so on day ten.
If, despite everything, some items still don't have a place in your pack, head to our secure luggage storage in Les Houches to drop them off before you set out. And to finish planning your departure with peace of mind, don't forget to book your secure parking in Les Houches for the TMB — so the only weight on your mind is the one on your back.
Related articles
Bivouacking on the Tour du Mont Blanc: the Complete Regulations, Sector by Sector
Where are you allowed to bivouac on the TMB? Bivouac vs. camping, country-by-country and nature-reserve rules, and good practices for bivouacking respectfully in the massif.
guidesWhere to Store Your Luggage in Les Houches Before the Tour du Mont Blanc?
Luggage storage and lockers: the guide to knowing where to leave your suitcases and valuables in Les Houches before starting the Tour du Mont Blanc.